We may earn money or products from the companies mentioned in this post.
If you have never had your eyebrows tinted, you may not realize how it can help make struggling eyebrows appear fuller and help frame your eyes and face. I love the way freshly tinted brows look and I also love not having to fill in my brows; a win-win.
Enter the discovery of a men’s grooming product – Just for Men, to tint my brows at home! The box costs about $9, but you can get 5 uses out of it, which is less than $2 a tint! I have been using the product for years and have converted quite a few friends along the way. It helps save a bit of money and also helps save trips to the salon and that has become critical in our COVID-19 world.
Below you will find all my tried and true tips and steps for getting salon-style brows at home. After years of practice and years of testing different tint colors – you can trust that I have become a Just for Men subject matter expert – which is a coveted title I cannot brag about in another context other than here, in our blog.
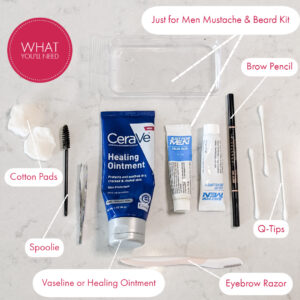
Optional: Grooming scissors for trimming brows – this is not something I use every time I tint, probably about once a month
Find Your Shade
Just for Men has tons of color options, which can be a bit intimidating; so I created this chart to help you find the right shade for your tint goal and current hair color.
The Steps to Perfect Brows:
Clean your face. Wipe eyebrows to ensure no make-up or cleaner residue is left behind.
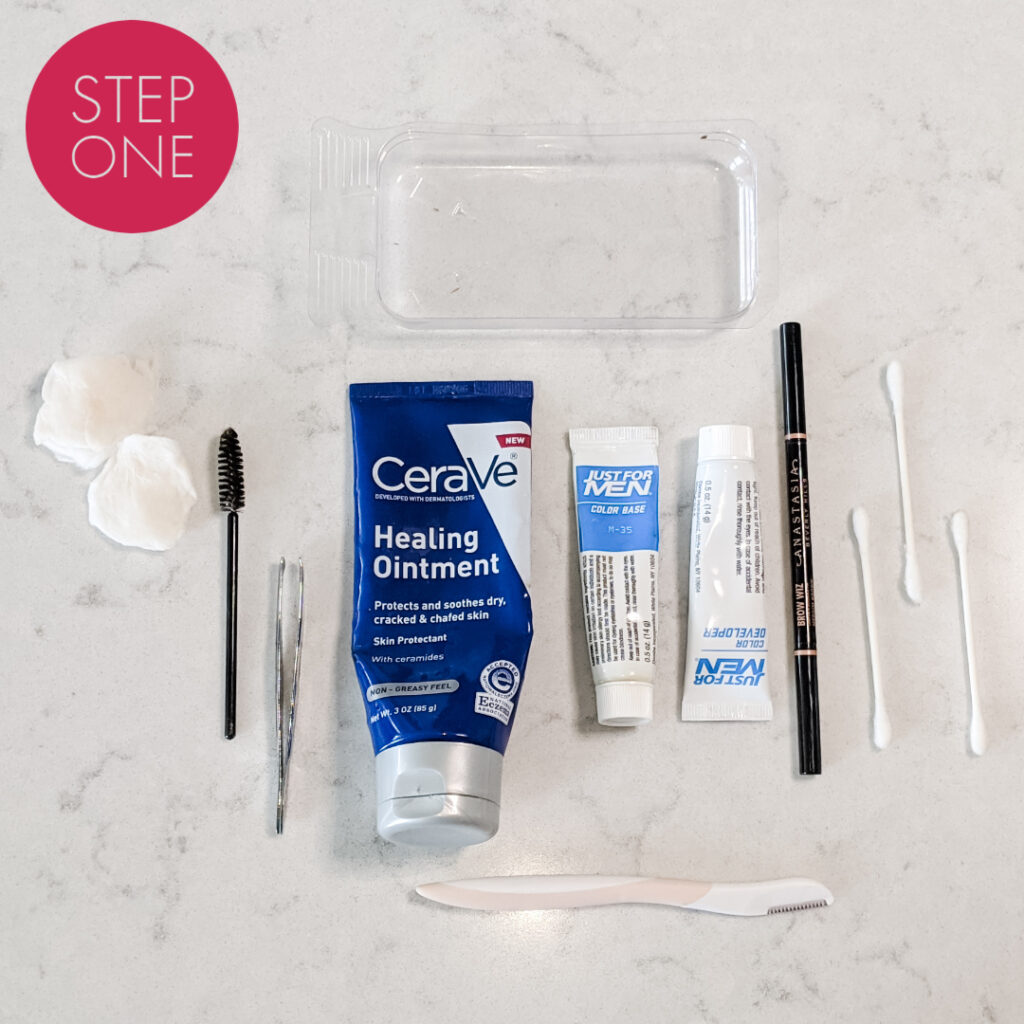
Grab items from the Just for Men box that you will need. You will only use a little bit of the color developer and color.
Keep the color developer, color, and tray for another tint session.
Generously apply either Vaseline, Aquaphor, or Cerave Healing Ointment to a Q-Tip. This will act as a barrier to ensure tint only tints the eyebrow area.
If the ointment gets in to the brow area, the tint will not stay. Use a clean Q-Tip to remove ointment, and then carefully wipe with washcloth.
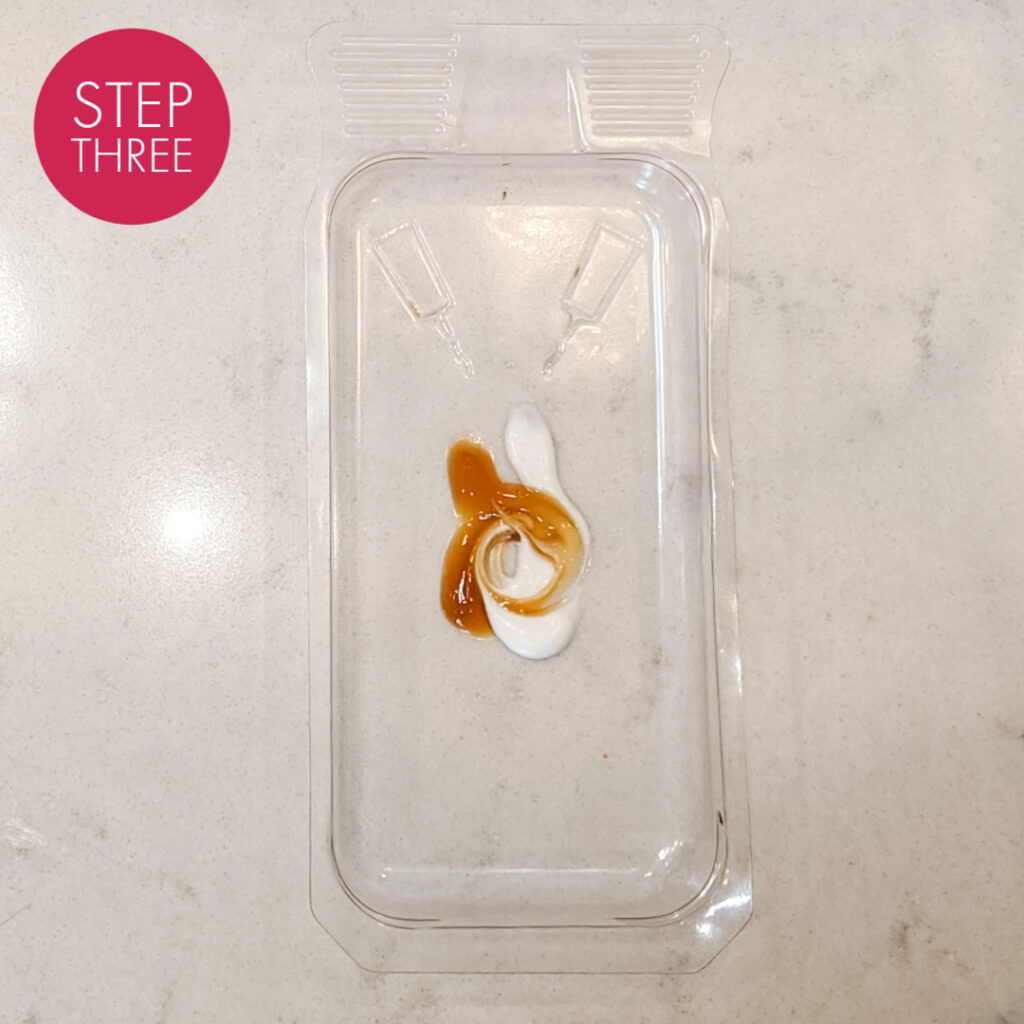
Mix Just for Men Color Developer and Color Base in included plastic tray.
Place a dot about the size of a pea of each and then mix with back of spoolie or the brush included in the kit. Wipe off any excess color from mixing tool of choice.
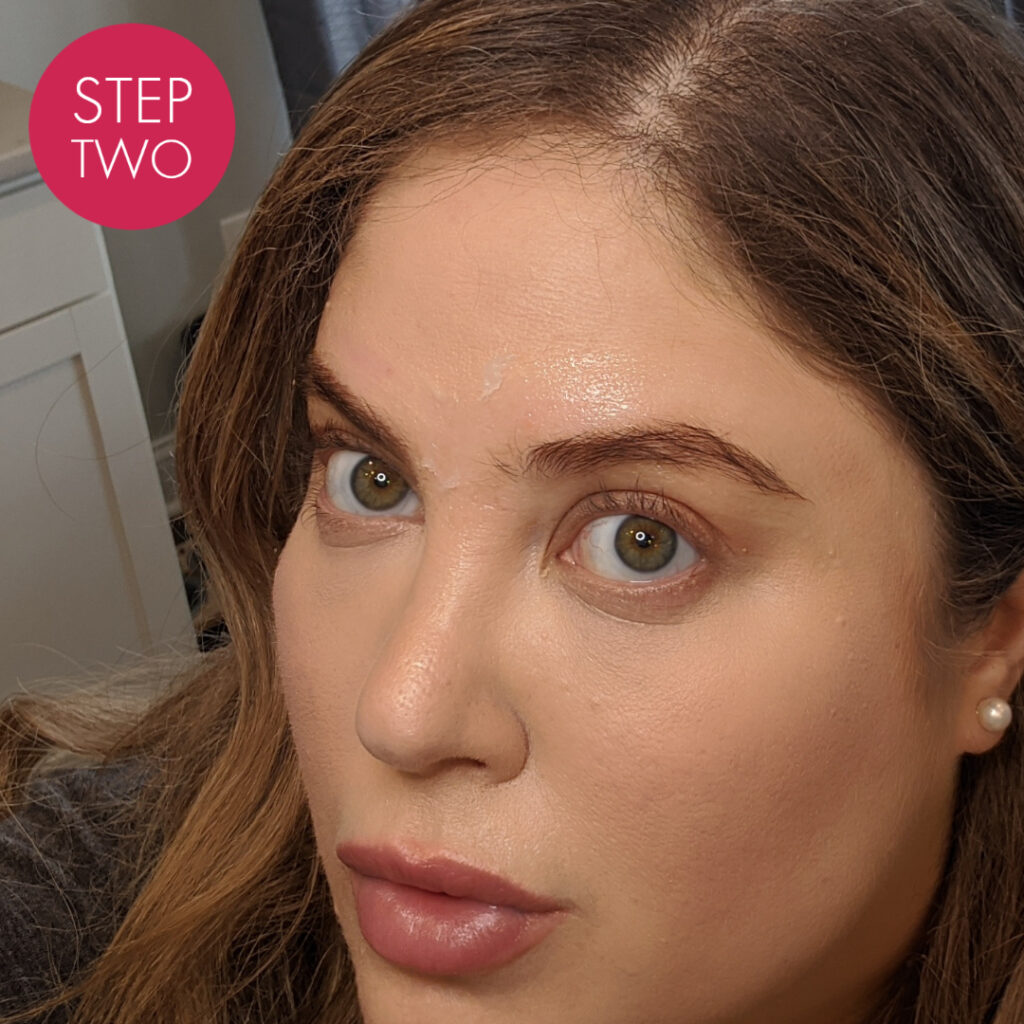
Dip spoolie into color mix and coat generously. Brush back and forth in eyebrow to ensure you get to the hairs under top coat.
After coating, brush in correct direction of your brows. Make sure you coat the smaller hairs at the front of brow – I feel this is what really makes them look professional.
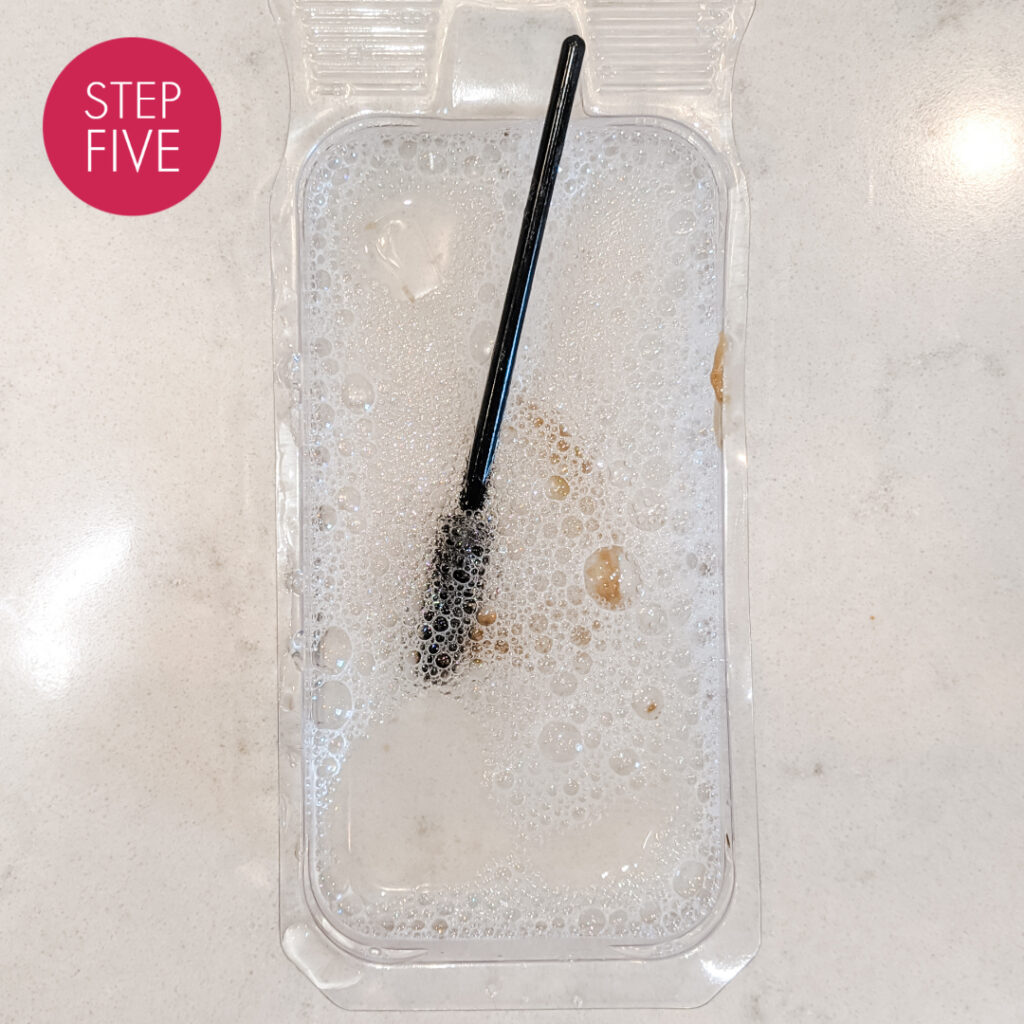
Wait the allotted time based on chart above! While I wait I usually clean the spoolie and tray with dish soap.
You may look like Groucho Marx while you wait for tint to develop – this is totally normal, keep in mind the tint color you see develop on top of brows will not match the color that develops on each hair.
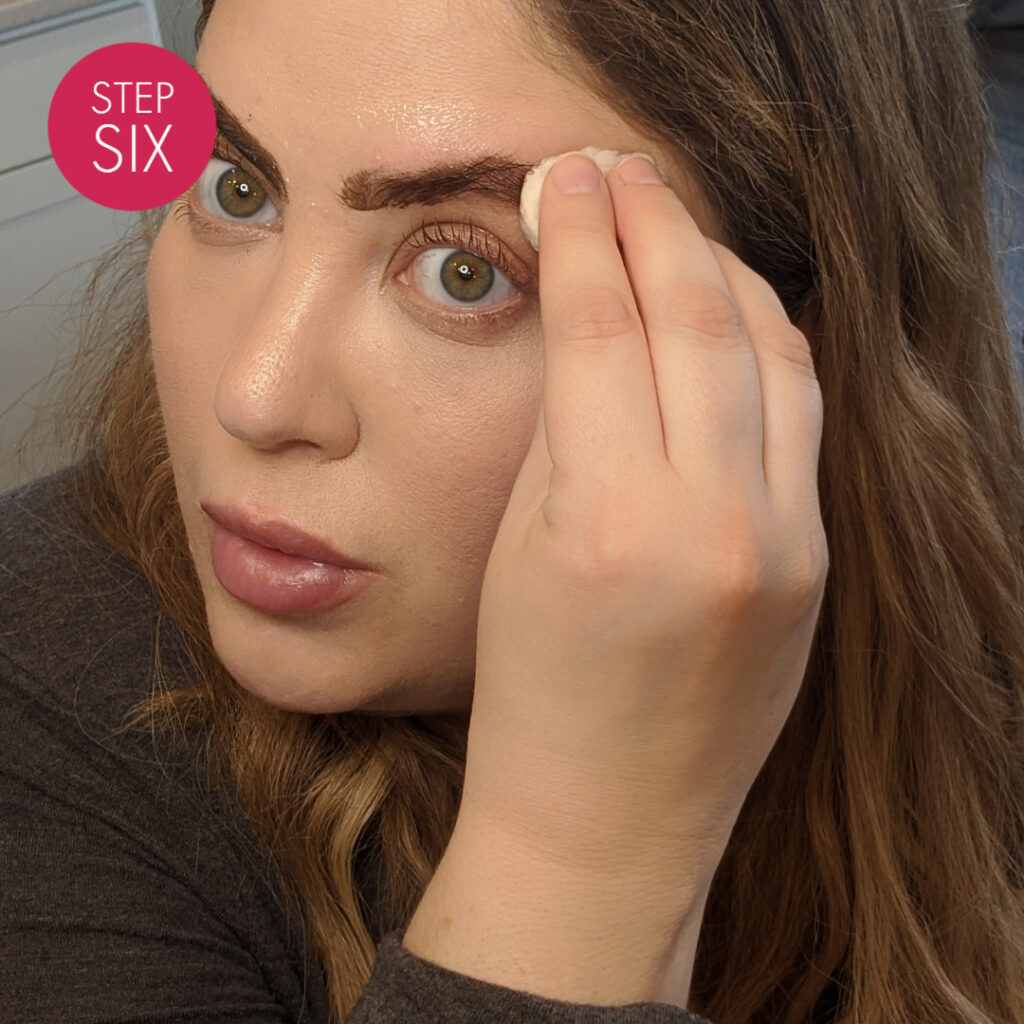
When time is up – use the soap-coated cotton pad and wipe it across each brow one at a time, then run the water pad across each brow.
If needed, wet washcloth and run across brows to remove any residue and lightly scrub any tint remaining on skin. Anything remaining on skin will fade quickly when you wash your face.
Clean up your brows!
I line my natural brow shape with eyebrow pencil on arch and above brow to create by clean-up guideline.
Tweeze any hairs outside guideline under arch.
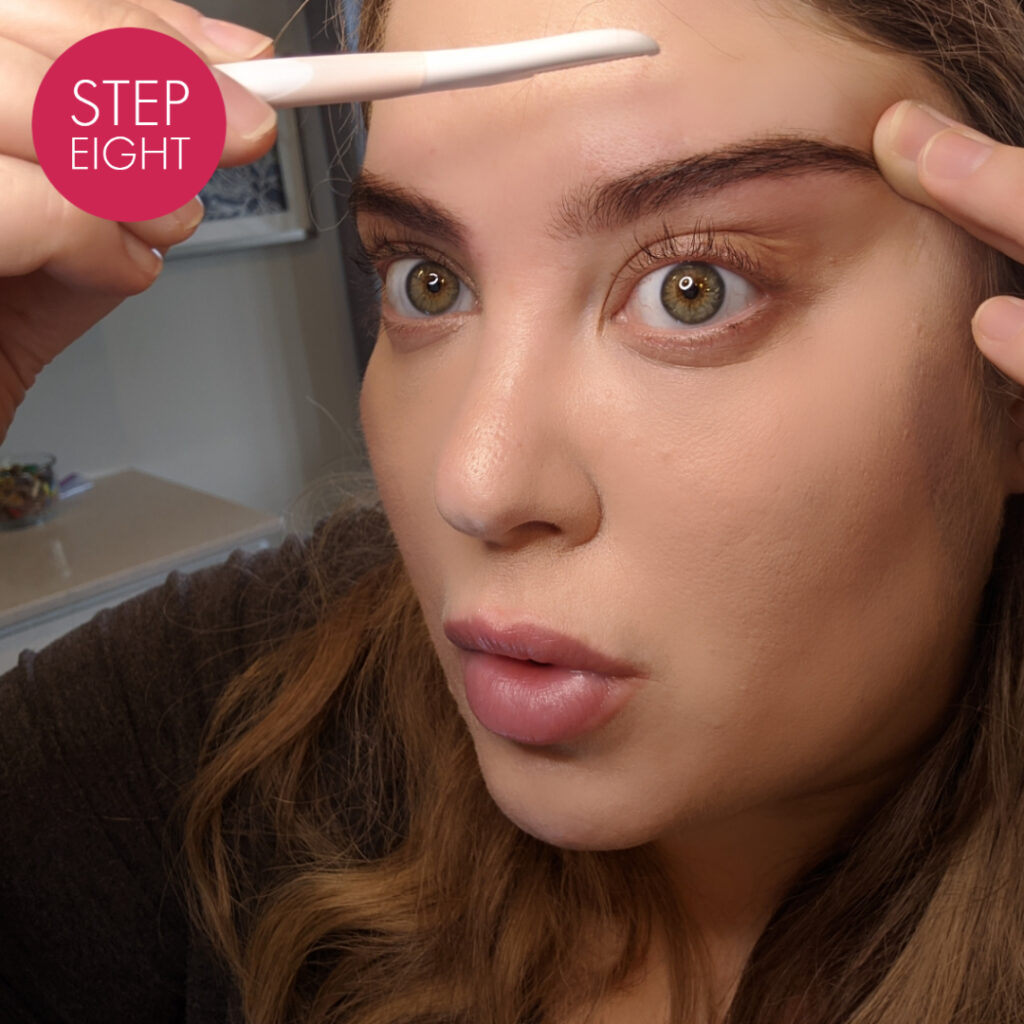
Pull eyebrow taut and use face shaver (same type I use for dermaplaning, FYI) to very carefully clean up any stray hairs above the top of brow guideline.
If you are new to face shavers, try cleaning up hairs near ear first to get used to them.
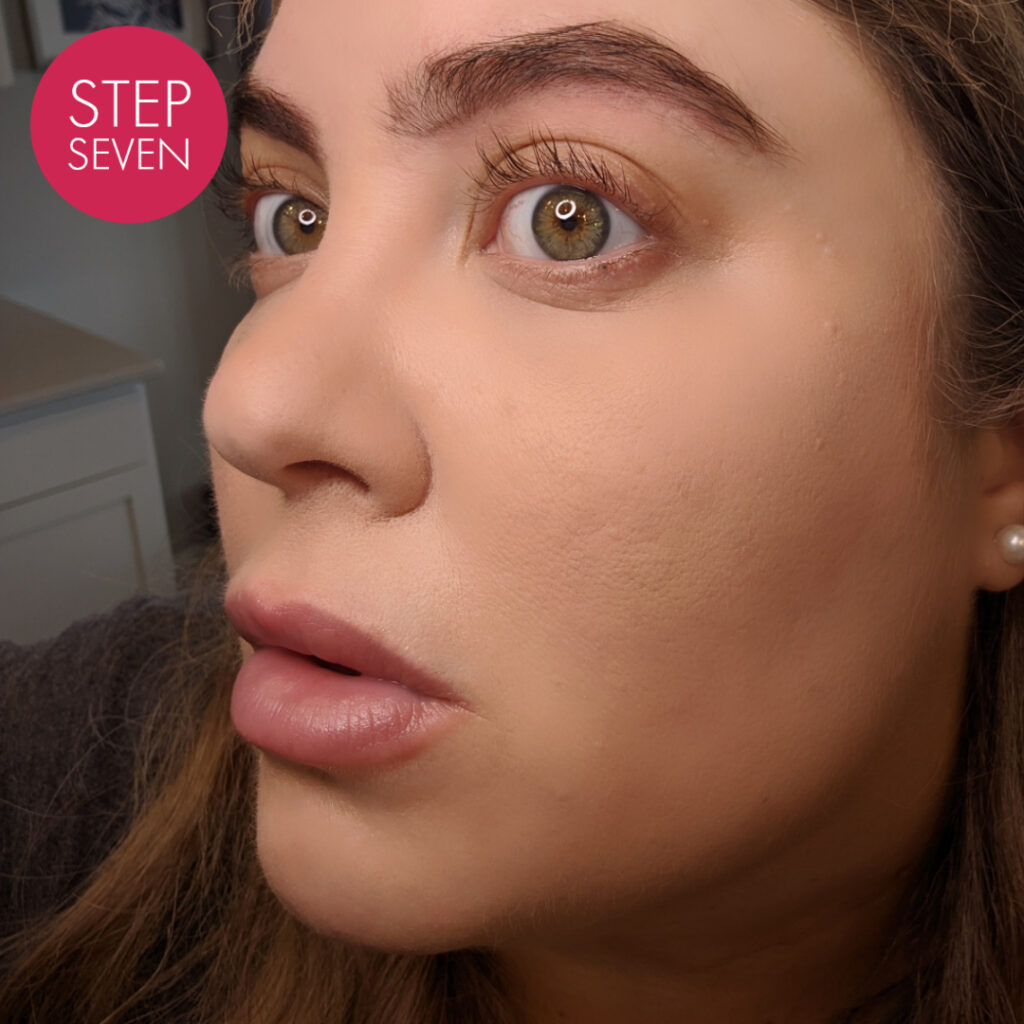
Admire your brows! Do not use any harsh skincare ingredients near the top of your brows where you used shaver for a day or so to lessen change of irritation.
Check out the step-by-step pictorial. Sorry in advance for the weird mirror face and close-up skin shots!
Please note: Some links contained in this blogpost contain affiliate links where we may make a small commission off of your purchase at no extra cost to you.